Auto paint chips are a common problem that can affect the appearance and value of your vehicle. These small blemishes often result from rocks, debris, or even minor impacts, exposing the underlying metal to rust and further damage. While paint chips might seem like a minor inconvenience, addressing them promptly is crucial to maintaining your car’s finish and preventing more serious issues down the line.
Understanding Auto Paint Chips
Before diving into the repair process, it’s important to understand what paint chips are and why they occur. Auto paint chips typically happen when small stones, gravel, or debris strike the surface of the vehicle while driving. The impact causes the paint to chip away, leaving the underlying primer or metal exposed. Over time, these exposed areas can oxidize and rust, leading to more extensive and costly repairs.

Tools and Materials You’ll Need
To effectively repair auto paint chips, gather the following tools and materials:
- Car wash soap
- Water bucket and sponge
- Microfiber cloths
- Automotive touch-up paint (matching your car’s color)
- Primer (if necessary)
- Clear coat
- Sandpaper (600-2000 grit)
- Rubbing alcohol or paint prep solvent
- Masking tape and plastic sheeting
- Small brushes or applicators
- Polishing compound
- Car wax

Step-by-Step Guide to Fixing Auto Paint Chips
Step 1: Clean the Area
Start by thoroughly washing the chipped area with car wash soap and water. Use a clean sponge to remove dirt, grime, and any loose paint chips. Rinse the area well and dry it with a microfiber cloth. This ensures that you’re working with a clean surface and can properly assess the extent of the damage.
Step 2: Prepare the Chip
Inspect the chip to determine its depth. If there is any rust, you will need to remove it before proceeding. Use a fine-grit sandpaper (600-1000 grit) to gently sand the chipped area, removing any rust and smoothing the edges of the chip. Wipe the area with a cloth dampened with rubbing alcohol or paint prep solvent to remove any sanding dust and contaminants.
Step 3: Mask the Surrounding Area
Use masking tape and plastic sheeting to cover and protect the areas around the chip. This will prevent any accidental paint application on the undamaged parts of your vehicle.
Step 4: Apply Primer (if necessary)
If the chip has exposed bare metal, applying a primer is crucial. Use a small brush or applicator to apply a thin layer of primer to the chipped area. Allow it to dry completely, which usually takes about 20-30 minutes. Primer helps the paint adhere better and provides a smooth base for the touch-up paint.
Step 5: Apply Touch-Up Paint
Once the primer is dry, it’s time to apply the touch-up paint. Shake the touch-up paint well to ensure it is thoroughly mixed. Use a small brush or applicator to carefully apply the paint to the chipped area. It’s better to apply several thin layers rather than one thick layer to avoid drips and uneven application. Allow each layer to dry completely before applying the next one. This process may take a few hours, depending on the number of layers needed.
Step 6: Apply Clear Coat
After the touch-up paint has dried, apply a clear coat to protect the new paint and blend it with the existing paintwork. Use a small brush or applicator to apply a thin layer of clear coat over the painted area. Allow it to dry completely, which usually takes about 24 hours.
Step 7: Sand and Polish
Once the clear coat is fully cured, use a very fine-grit sandpaper (1500-2000 grit) to gently sand the repaired area. Wet the sandpaper and carefully sand the area to blend the repair with the surrounding paint. Be cautious not to sand too aggressively. Wipe the area clean with a microfiber cloth and then apply a polishing compound to restore the shine. Buff the area with a clean microfiber cloth in a circular motion until it blends seamlessly with the rest of the paint.
Step 8: Apply Wax
Finally, apply a layer of car wax to the repaired area to protect the new paint and give it a glossy finish. Use a clean microfiber cloth to apply the wax in a circular motion, then buff it to a shine.

Tips for Maintaining Your Car’s Paint
- Regular Washing: Wash your car regularly to remove dirt, grime, and contaminants that can damage the paint. Use car wash soap and avoid harsh detergents that can strip the wax and damage the paint.
- Apply Wax: Regularly applying wax helps protect the paint from UV rays, bird droppings, tree sap, and other environmental contaminants. Waxing also provides a smooth surface that makes washing easier.
- Park in Shade: Whenever possible, park your car in a shaded area or use a car cover to protect it from the sun’s UV rays, which can fade the paint over time.
- Avoid Harsh Chemicals: Use car-friendly cleaning products and avoid harsh chemicals that can damage the paint. When removing bird droppings or tree sap, do so gently to avoid scratching the paint.
- Touch-Up Paint: Keep a touch-up paint pen handy for minor scratches and chips. Promptly addressing small blemishes can prevent them from worsening over time.
When to Seek Professional Help
While many minor paint chips can be repaired at home with patience and attention to detail, some situations warrant professional assistance. Here are a few instances when you should consider taking your vehicle to a professional auto body shop:
- Large or Numerous Chips: If your vehicle has multiple chips or large areas of damaged paint, a professional can provide a more efficient and thorough repair.
- Deep Chips: Chips that have penetrated the metal and begun to rust require specialized treatment to prevent further damage.
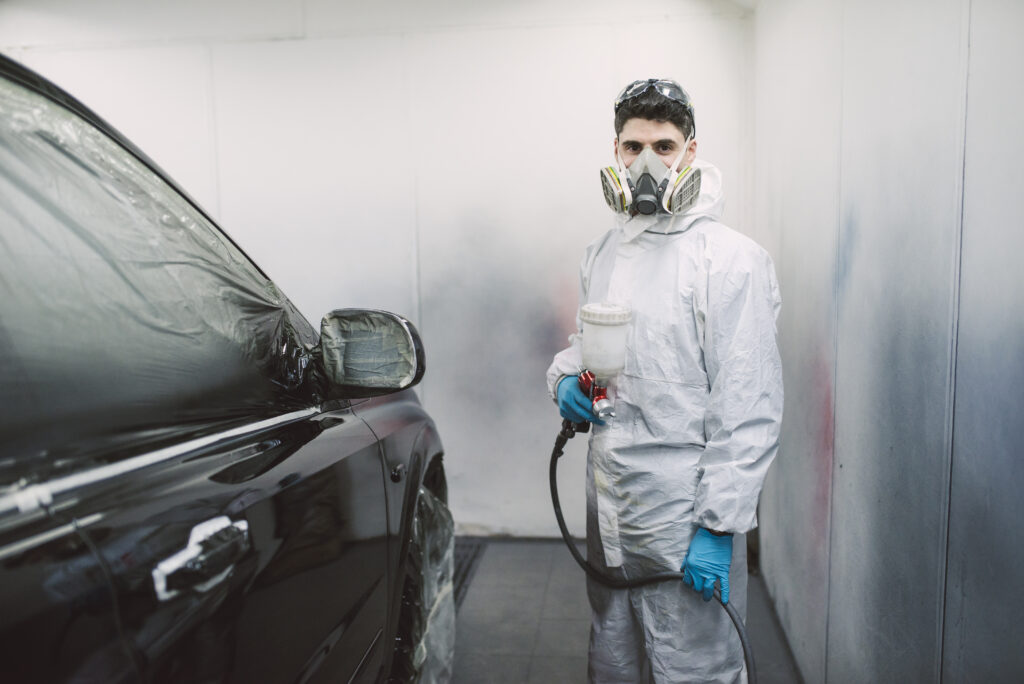
- Color Matching: Professional auto body shops have access to advanced color matching technology to ensure the repair blends seamlessly with the existing paint.
Conclusion
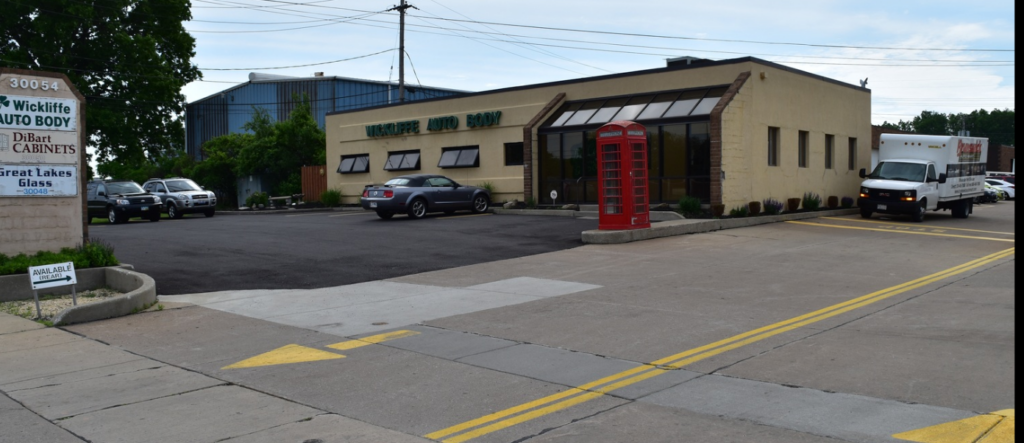
Fixing auto paint chips is an essential aspect of maintaining your vehicle’s appearance and value. By following the steps outlined above, you can effectively repair minor chips and prevent further damage. However, for more extensive damage or for those who prefer a professional touch, Wickliffe Auto Body in Wickliffe, Ohio, is here to help.
Wickliffe Auto Body has been servicing the Cleveland area with expert auto body repairs for years. Our experienced technicians use the latest technology and high-quality materials to restore your vehicle to its original condition. Whether it’s minor paint chips or major collision damage, we are committed to providing exceptional service and ensuring your satisfaction.
Don’t let paint chips and other imperfections detract from your vehicle’s beauty and value. Trust the professionals at Wickliffe Auto Body to deliver top-notch repairs and outstanding customer service. Visit us today and see why we are the trusted choice for auto body repairs in Wickliffe and the greater Cleveland area.